
|
 FAQs by Category FAQs by Category
 Installation Guide Installation Guide
|
| FAQ No.: | 00108 |
| Category: | Installation; Sales & Marketing |
|
| | |
| Question: | How to setup Salespeople notebook for Curtain demo? |
| | |
| Answer: | For demo purpose, you may want to install both server and client components of Curtain e-locker on one PC (or notebook). To simulate Curtain Protection for Windows File Server, you can create some share folders on the PC and apply Curtain Protection on them. Then you can demonstrate how Curtain e-locker protects share folders.
However, please remember that it is ONLY an environment for demonstration. If you want to simulate a live environment, you have to setup 2 separate machines (not 2 Virtual Machines on the same PC) for acting as server and client separately. Since this demo PC acts as both server and user's workstation, you may find that you can copy data from Protected share folders to other locations through Windows Explorer in this demo environment.
Preparation:
- Prepare a PC with minimum system requirements
- Check hostname of this demo PC
High-level steps for setting up demo environment on one PC:
1. Install Curtain Admin
2. Install Curtain Client
3. Activate Curtain e-locker
4. Create share folders for demo
5. Apply protection on the share folders
6. Configure control policy groups in Curtain Admin
7. Assign the PC to a policy group
8. Update policy in Curtain Client
Detailed steps for setting up demo environment on one PC:
Step 1. Install Curtain Admin
(i) Copy Curtain server setup program (i.e. Curtain3Admin.exe) to local hard-disk.
(ii) Run Curtain server setup program (i.e. Curtain3Admin.exe). Make sure that you login Windows with administrator right.
Then, you will be asked to select Language for the installation.
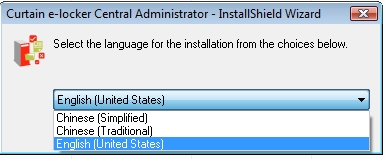
(iii) Select a language and click OK.
(iv) Read License Agreement. If you accept the agreement, select "I accept the terms of the license agreement" and click Next to continue.
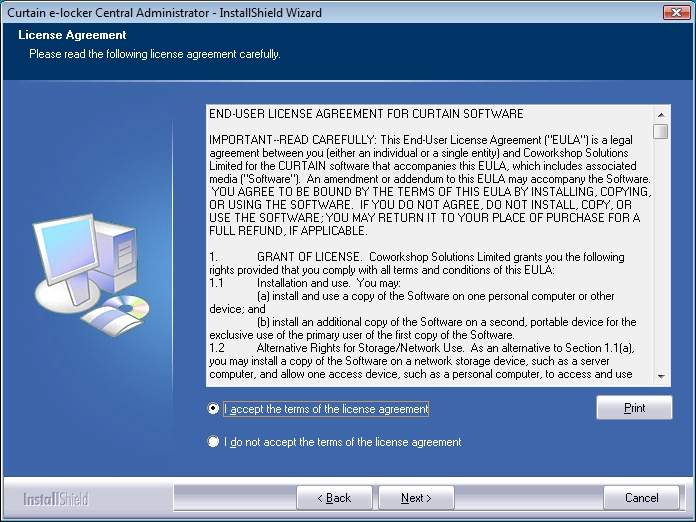
Then, you will be asked to select Curtain components to install.
(v) Only select "Curtain Admin" and click Next to install Curtain Admin.
(vi) Select Destination Folder for the installation, and click Next to continue.
(vii) Click Install to start the installation.
Step 2. Install Curtain Client
(i) Copy Curtain client setup program (i.e. Curtain3Client_SA.exe) to local hard-disk.
(ii) Run Curtain client setup program (i.e. Curtain3Client_SA.exe). Make sure that you login Windows with administrator right.
Then, you will be asked to select Language for the installation.
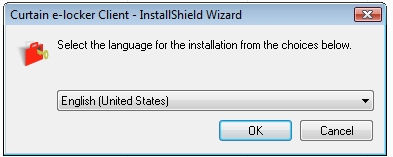
(iii) Select a language and click OK.
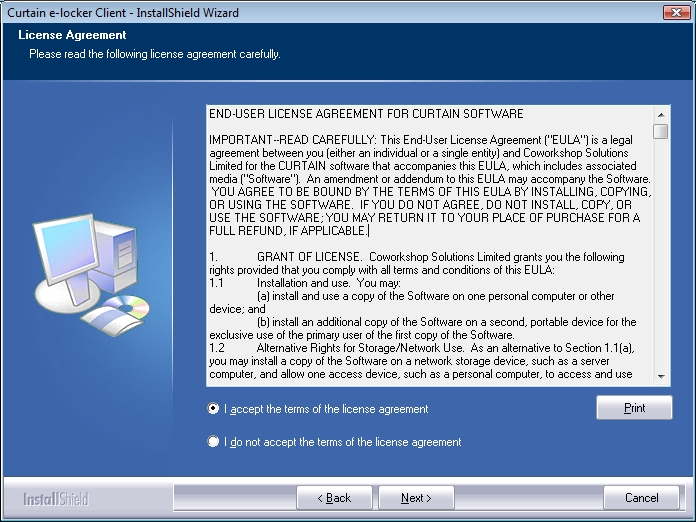
(iv) Read License Agreement. If you accept the agreement, select "I accept the terms of the license agreement" and click Next to continue.
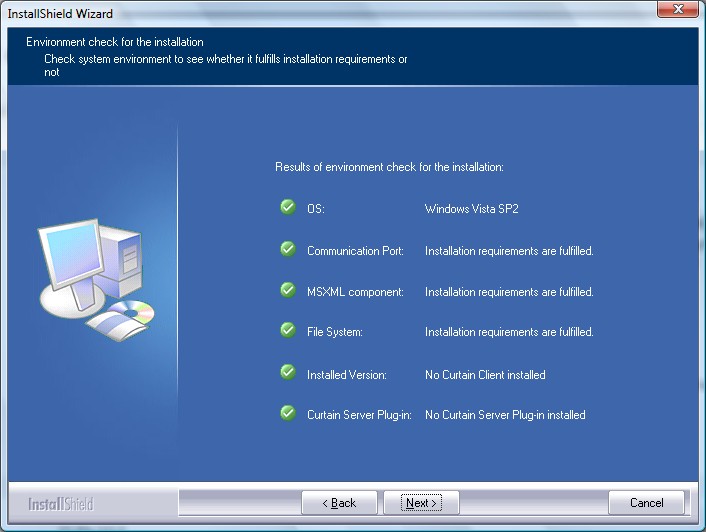
Then, the setup program will check your system environment for the installation, click Next to continue.
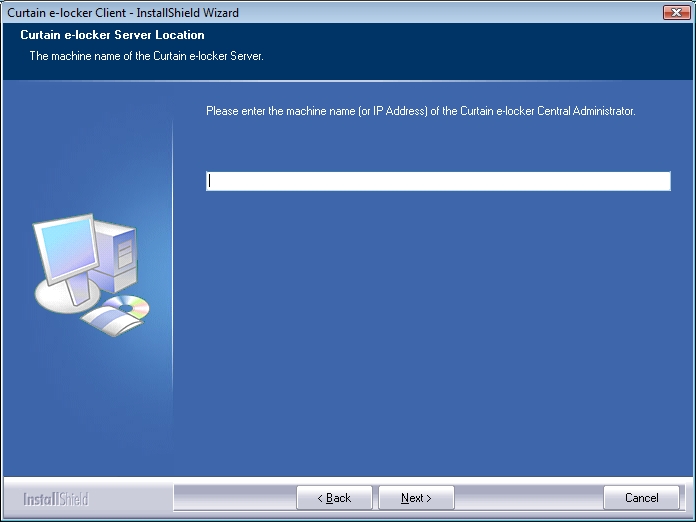
(v) Enter hostname or IP Address of this demo PC (please enter 127.0.0.1 if you are not sure), and click Next to continue.
(vi) Select Destination Folder for the installation, and click Next to continue.
(vii) Click Install to start the installation.
(viii) Reboot the workstation after installing Curtain Client.
Step 3. Activate Curtain e-locker
(i) Launch Curtain Admin. Then, you will be asked to do the activation.
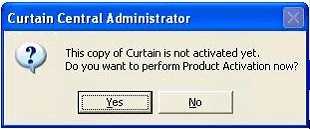
(ii) Click Yes to start Product Activation.
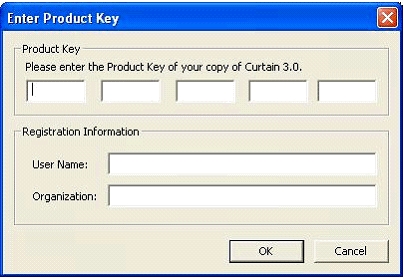
(iii) Enter Product Key (which is case sensitive) and company information, and click OK to continue. Then, the following dialog will appear.
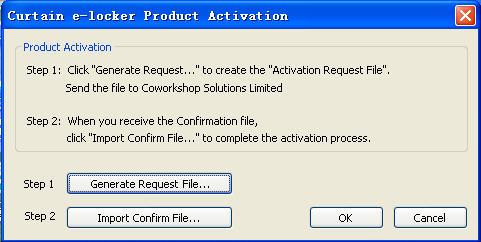
(iv) Click "Generate Request file..." button to generate Activation Request File, and send this file to Coworkshop (registration@coworkshop.com). After receiving your activation request, Coworkshop will send file(s) back to you.
- If it is the first time Product Activation, you will receive two files from Coworkshop (i.e. Confirmation Code and Authorization String).
- If it is the Product Reactivation, you will receive one file from Coworkshop (i.e. Confirmation Code).
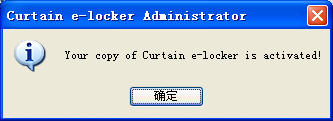
(v) After receiving Confirmation Code file from Coworkshop, click "Import Confirm File..." button and select the file. After you click OK, the following message box will appear.
(vi) In Curtain Admin, select "File > Settings" in the menu. Then, "Settings" window will be shown. Enter Authorization String and Click OK.
Step 4. Create share folders for demo
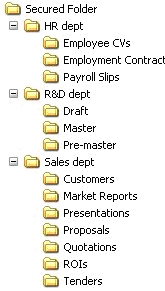
(i) Create folders in local drive to act as Shared Folders in file server. Here is an example (e.g. c:\Secured Folder).
(ii) In Windows Explorer, select this folder (e.g. c:\Secured Folder) and right-click to select "Properties".
(iii) In "Sharing" tab, share this folder (please refer to Microsoft's manual for detailed steps).
Step 5. Apply protection on the share folders
(i) In Curtain Admin, select "File > Settings".
(ii) In Server Information tab, click Add button to add server information first.
Server Address: Hostname or IP address of this demo PC (please enter 127.0.0.1 if you are not sure).
Port: Accept default value (i.e. Port 8443).
(iii) Add Protected server resources.
Protect share folder
- In Network Drives Protection tab, check "Enable Protection".
- Click "Add" button, a dialog box will be shown.
UNC Path: \\Server\Share Name
- Server - Select the demo PC (hostname or IP address)
- Share Name - Enter name of the Share (refer to Step 4(iii) in this FAQ)
Enable map drive: Check this option and select a drive letter.
(iv) Click OK to confirm.
Step 6. Configure control policy groups in Curtain Admin
(i) In Curtain Admin, select a Policy Group and right-click to select "Properties".
(ii) In Applications tab, double-click the application which you want to configure.
(iii) Define Curtain access rights and click OK to confirm.
(iv) Repeat Step (ii)-(iii) for different applications.
Step 7. Assign the PC to a policy group
(i) In Curtain Admin, select Online/Offline in left panel. Then, workstations will be listed out in the right panel.
(ii) Select this demo PC
(iii) Drag and Drop this demo PC to appropriate Control Policy Group
Step 8. Update policy in Curtain Client
(i) In Curtain Client, click "Update Policy" button (or restart Curtain Client) to get the latest control policy from Curtain Admin.
(ii) Now you should see Protected share folders (e.g. Secured Folder) in Curtain Client. When you open files in Protected share folders through Curtain Client, the files will be opened with Curtain Protection. You can demonstrate Curtain Protection in this demo environment. |
| |
| |
| |
| |
| |
|
| |
| |
| |
| |
|